Device settings can be changed using the Settings menu.
| 1. | Press the Menu  button. button. |
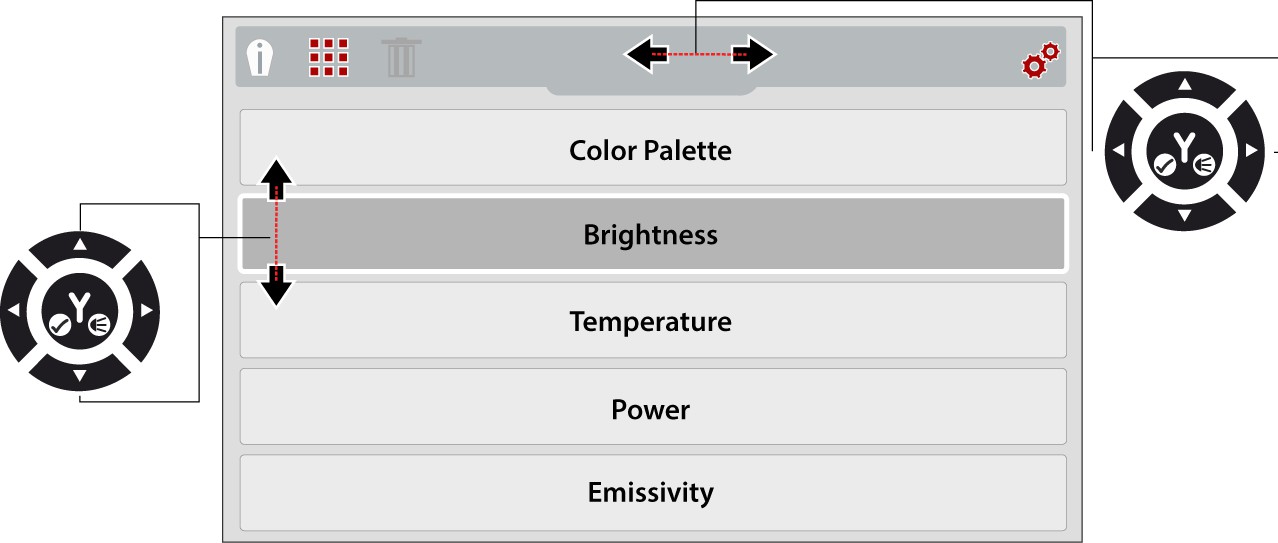
| 2. | Use the Left / Right control buttons to select the Settings icon from the toolbar |
| 3. | Use the Up / Down control buttons to select an option from the menu. |
You can return to Live mode at anytime by pressing the Menu button.
-
Press the Y button to open the selected setting option.
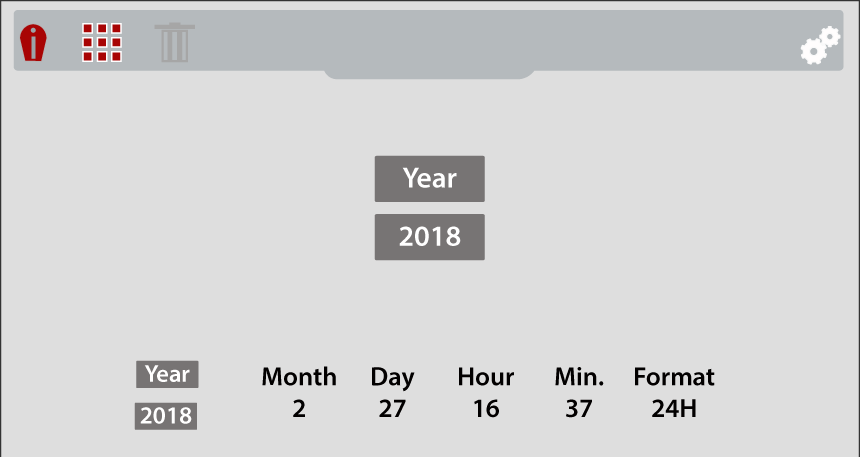
Selecting Date and Time allows you to set the device system date and time.
| 1. | Use the Up / Down control buttons to select the year, month, day, hour and minute. Press the Y button after making each selection to continue to the next. |
| 2. | After all selections have been made, press the N button to return to the settings menu. |
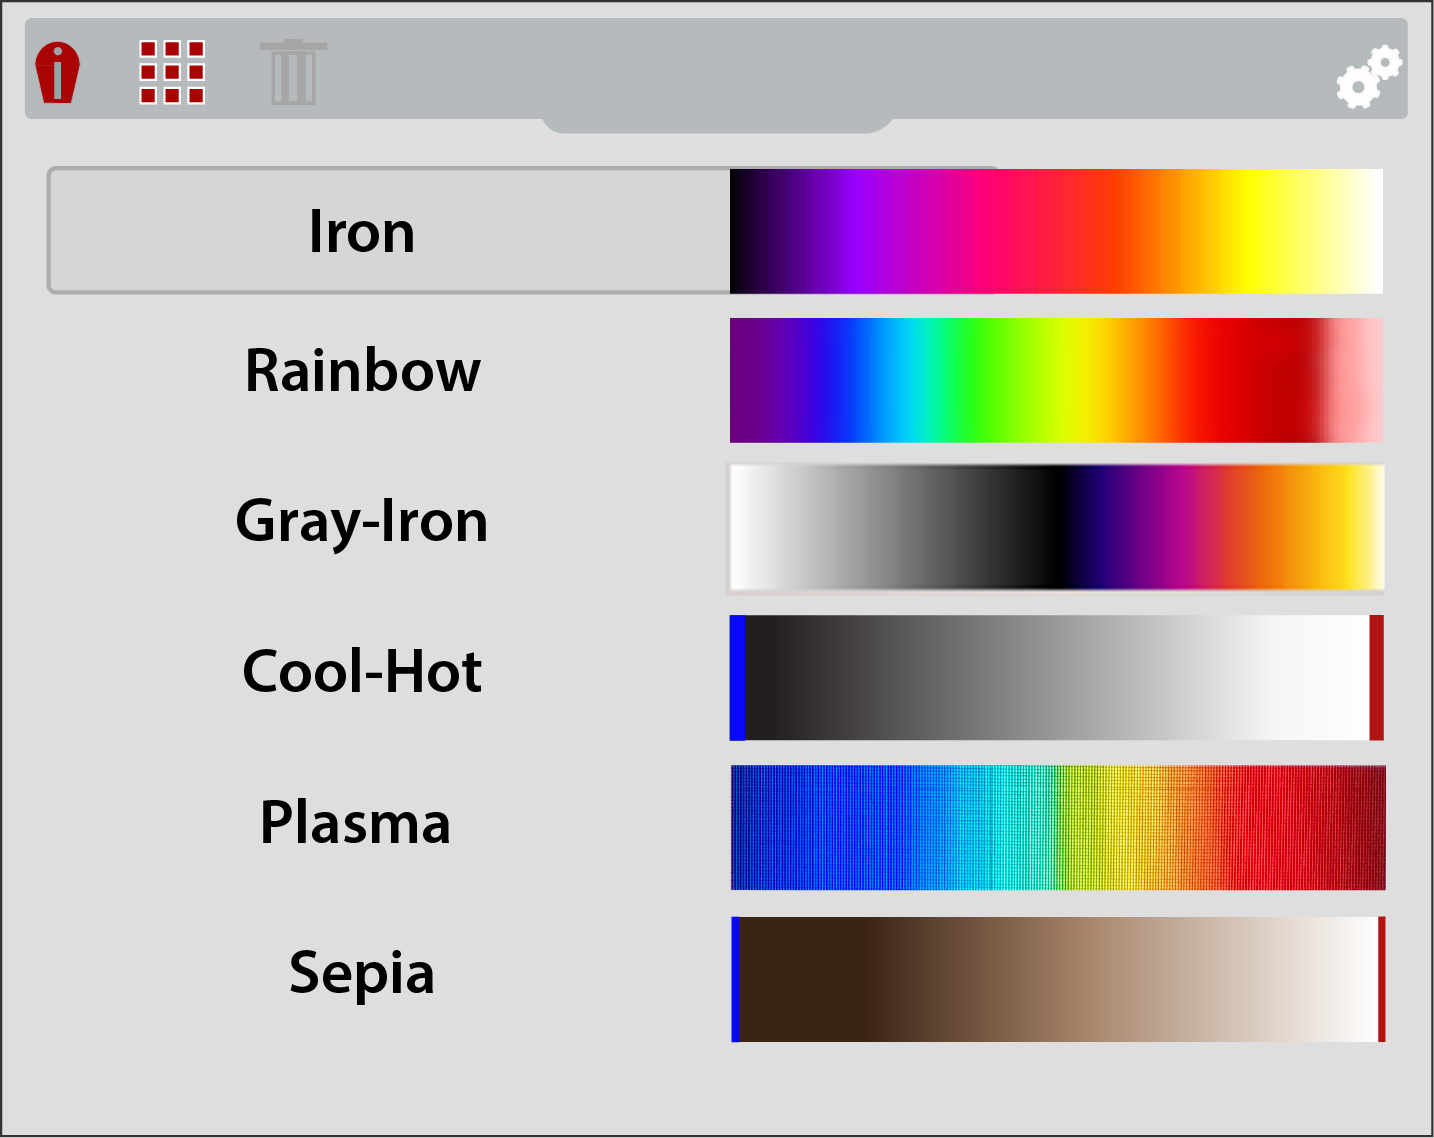
Different color palette themes can be used to help define (enhance) object temperatures onscreen by varying color ranges, contrast and brightness. Multiple color palette presets are available from the menu.
Use the Up / Down control buttons to make a selection from the menu, then press the Y button to enable the selection and return to the settings menu.
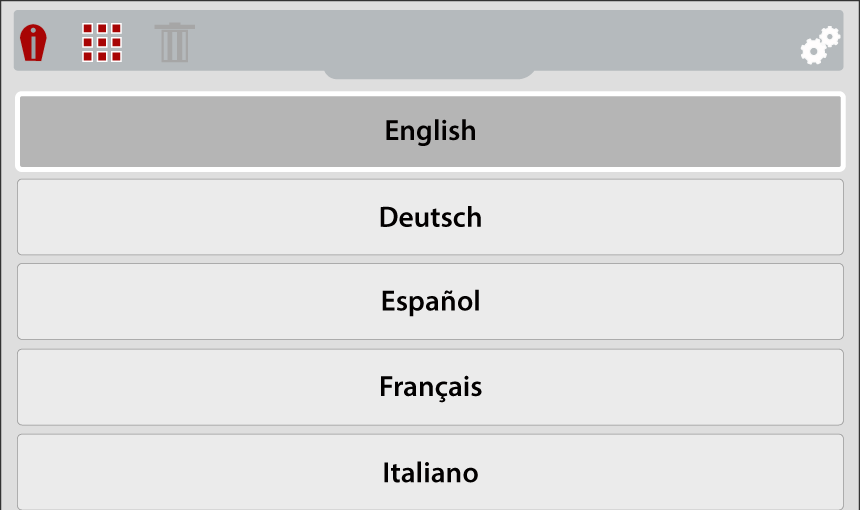
Selecting Language from the menu allows you to select the your preferred language.
Use the Up / Down control buttons to make a selection from the menu, then press the Y button to enable the selection and return to the settings menu.
Menu Options: English, French, Spanish, Italian, Polish, Dutch, German, Portuguese (Brazil).
Onscreen navigational tips are provided for select menu navigation procedures, to help you become familiar with the Thermal Imager menus. Each Tip will appear only once after turning on the Thermal Imager.
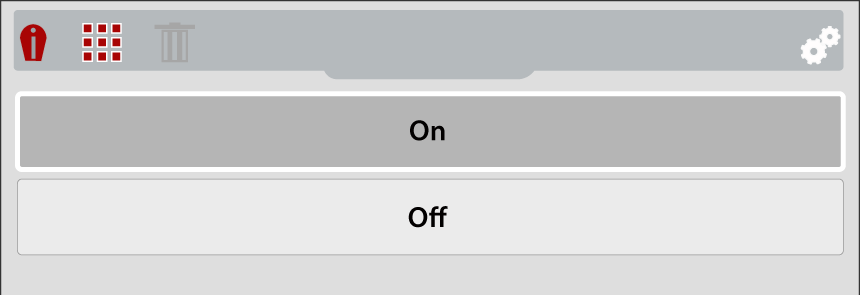
Selecting Navigation Tips from the settings menu allows you to turn on (enable), or turn off (disable) the automated navigational tips.
Use the Up / Down control buttons to make a selection (On or Off) from the menu, then press the Y button to enable the selection and return to the settings menu.
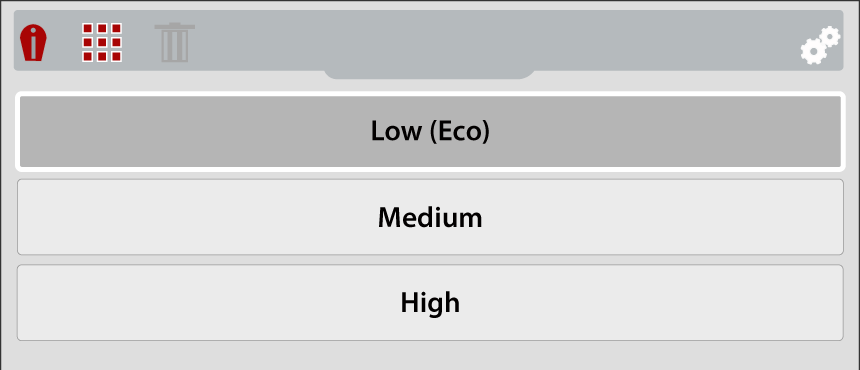
Selecting Spotlight Intensity allows you to adjust the brightness of the LED spotlight.
Spotlight intensity ONLY operates when the battery charge level is above 50%. When the battery level is between 50% and 25% it is auto set to “Low (Eco)”, and is not functional when below 25%.
Three settings are provided:
| ● | Low (Eco) - 7 lumens |
| ● | Medium - 12 lumens |
| ● | High - 22 lumens (default setting) |
Use the Up / Down control buttons to make a selection from the menu, then press the Y button to enable the selection and return to the settings menu.
Calibration is needed to ensure the thermal imager sensor is calibrated to the current ambient temperature, as the temperature influences the measured values displayed on-screen. This ensures consistent and accurate temperature measurements are provided.
Manual Calibration
Selecting Thermal Camera Calibration from the setting menu allows you to manually perform a calibration. When selected, the screen will revert to live mode and the unit will perform a calibration. As the calibration occurs the word " calibrating)" is shown at the bottom right of the screen and a “~” symbol is displayed in front of the Center Region Temperature (Average) indicator  at the upper left.
Automatic Calibration
Calibrations are automatically and continually performed during operation.
Additional Information about Calibrations
| ● | A screen message (e.g. calibrating) is displayed during the automatic calibration process. |
| ● | An automatic calibration will occur when the thermal imager is turned on during “warm-up”. |
| ● | An automatic calibration will occur approximately every 3 minutes and once at every 1°C temperature change of the thermal sensor. |
| ● | An audible "click" is sounded at the start and end of a calibration. |
| ● | During calibration, the screen will “freeze” temporarily. |
| ● | A “~” symbol is used to indicate calibration is about to occur (see following table): |
|
Example |
Description |
|---|---|
|
|
At one minute (or less) before a calibration occurs, a “~” symbol is displayed in front of the Center Region Temperature (Average) to indicate calibration is about to occur. |
Capture Image
When the trigger is activated (in all Live mode view settings) a still image is saved of the active screen.
Freeze Image
This function operates the same as "Capture Image" (above), EXCEPT in when using the 2X zoom view setting.
With the Freeze Image feature activated, and using 2X zoom view setting you have the ability to add temperature markers (up to five) to the captured image. For more information see Freeze Image.
The Thermal Imager measures and displays the emitted infrared radiation from an object(s).
To accurately calculate temperature (from infrared radiation), the emissivity value of the object being measured must be entered. The emissivity value is used to effectively calculate the displayed temperature value.
Emissivity is the amount of radiation emitted from an object, compared to that of a perfect blackbody (standard of radiation) of the same temperature.
Emissivity can be effected by other factors (listed below), which is beyond the scope of this manual.
| – | Core material makeup |
| – | Surface condition |
| – | Temperature |
| – | Angle of view |
| – | Wavelength |
As a general rule, objects and surfaces normally exhibit emissivity ranging from approximately 0.1 to 0.95. Materials with smooth (non oxidized) surfaces, usually range from 0.05 to 0.50, however these values may change if the surface is rough or oxidized.
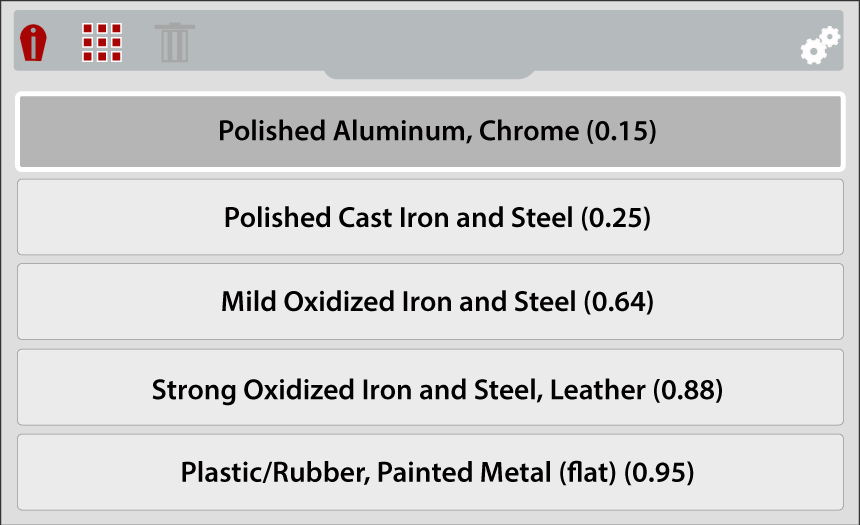
The Thermal Imager is equipped with five common emissivity value presets. Choose the most applicable setting for your application.
Use the Up / Down control buttons to make a selection from the menu, then press the Y button to enable the selection, and return to the settings menu.
The default emissivity level setting is Plastic/Rubber, Painted Metal (flat) (0.95).
Selecting Object Distance allows you to optimize the accuracy of the thermal imager by setting the approximate distance to the object you are measuring.
Use the Up / Down control buttons to make a selection (Near / Far) from the menu, then press the Y button to enable the selection and return to the settings menu. Options:
| ● | Near - 1 to 3 feet (30.48 to 91.44 cm) |
| ● | Far - 3 to 10 feet (91.44 to 304.8 cm) |
The thermal imager uses two cameras to provide the blended (overlay) effect of the thermal image over the visual light image. As the two cameras view slightly different images due to their alignment with an object, when viewing objects that are close to the camera the image may appear mis-aligned. This visual effect of the position of an object that appears to differ when viewed from different positions is known as parallax.
When objects are viewed closer than 1 foot (30.48 cm) they will always display slightly mis-aligned, however as the imager is moved farther away from the object the misalignment decreases. Therefore, to optimize the accuracy of the thermal imager when used in close proximity of an object 1 to 3 feet (30.48 to 91.44 cm), the Object Distance setting should be set to Near.
The Wi-Fi Status screen provides connection status indicators that can be used to troubleshoot connection issues. See Wi-Fi.
The micro SD card check function is used to check the file system integrity of the micro SD card. If errors are found during the check, this may indicate possible micro SD card damage which could cause an inoperative condition. For micro SD card support, contact Customer Support.
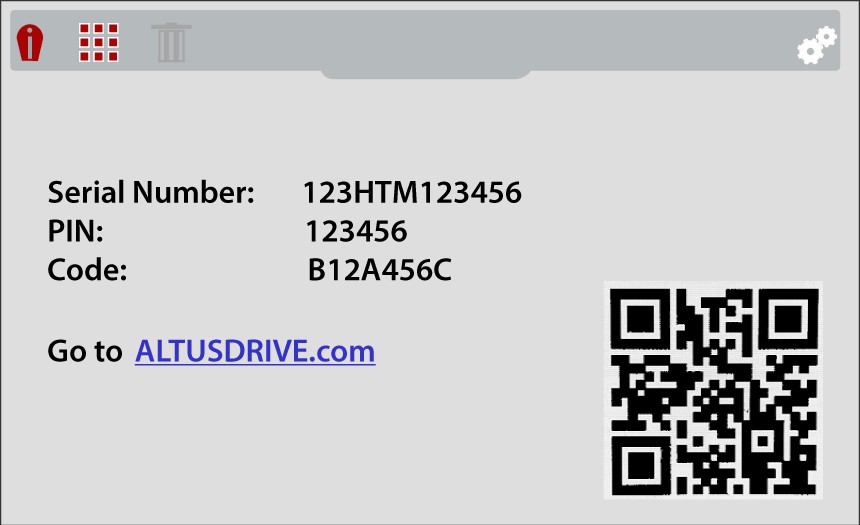
Selecting About displays hardware and software version information, and provides the option to reset the device to factory settings.
Select Ok to exit the screen.
Select Factory Reset to reset the following to their factory default settings (as shown):
| ● | Color Palette - Iron |
| ● | Brightness - Level 70% |
| ● | Language - English |
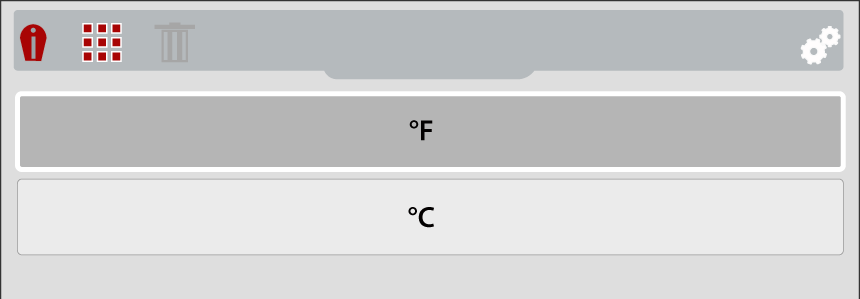
| ● | Temperature Unit - Fahrenheit |
| ● | Automatic Shutdown - Disabled |
| ● | Emissivity - 0.95 |
| ● | Navigation Tips - Disabled |
| ● | Spotlight Intensity - High |
| ● | Object Distance - Near |
| ● | Opacity Overlay Level - 60% |
| ● | Zoom Level - Diffused Beam |
| ● | Wi-Fi Enable - Enabled |
| ● | Wi-Fi Password - Password is deleted |
When Factory Reset is selected a confirmation screen is displayed, select the Y button to proceed with the reset or the N button to cancel.
If Y is selected a confirmation screen displays to indicate the reset was completed, and then the option to delete all (USERDATA folder) images and videos is provided, select the Y button to delete all images and videos or the N button to cancel. See Transferring Files to a PC for additional information about the USERDATA folder.

